A gift for an old friend... 😎

Untitled
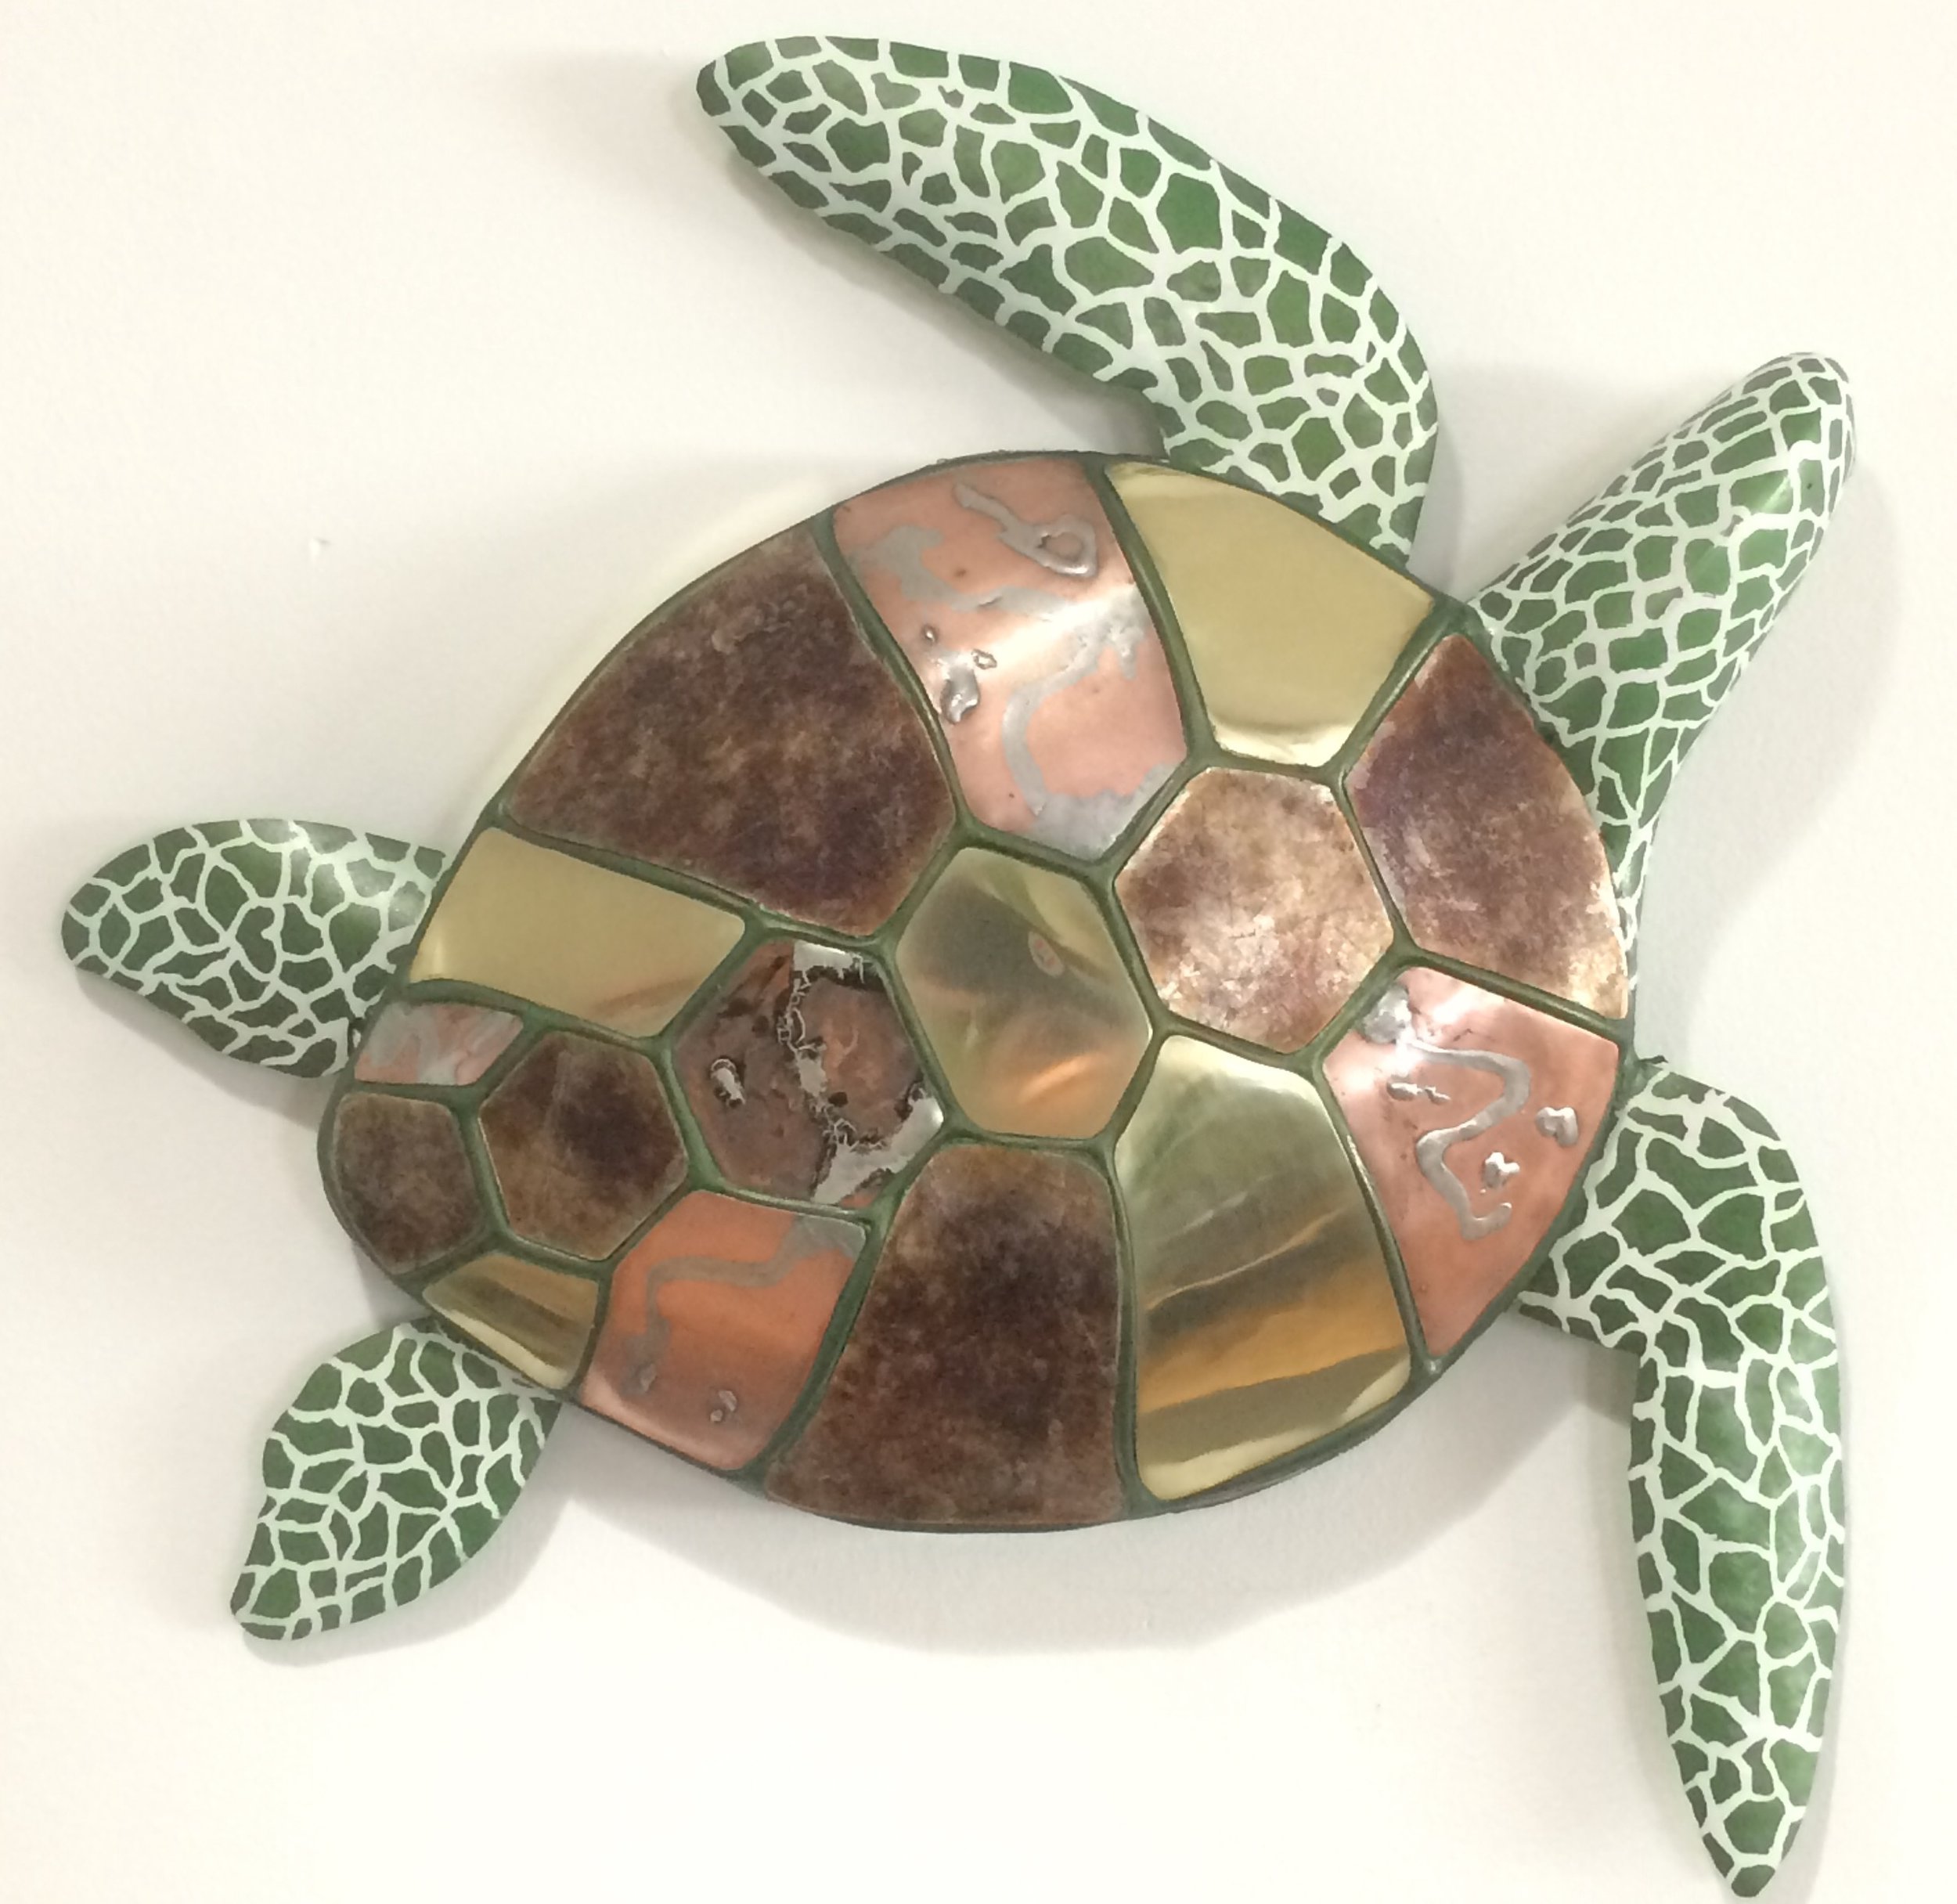
Copper, brass, mica
Approx 8" x 7"
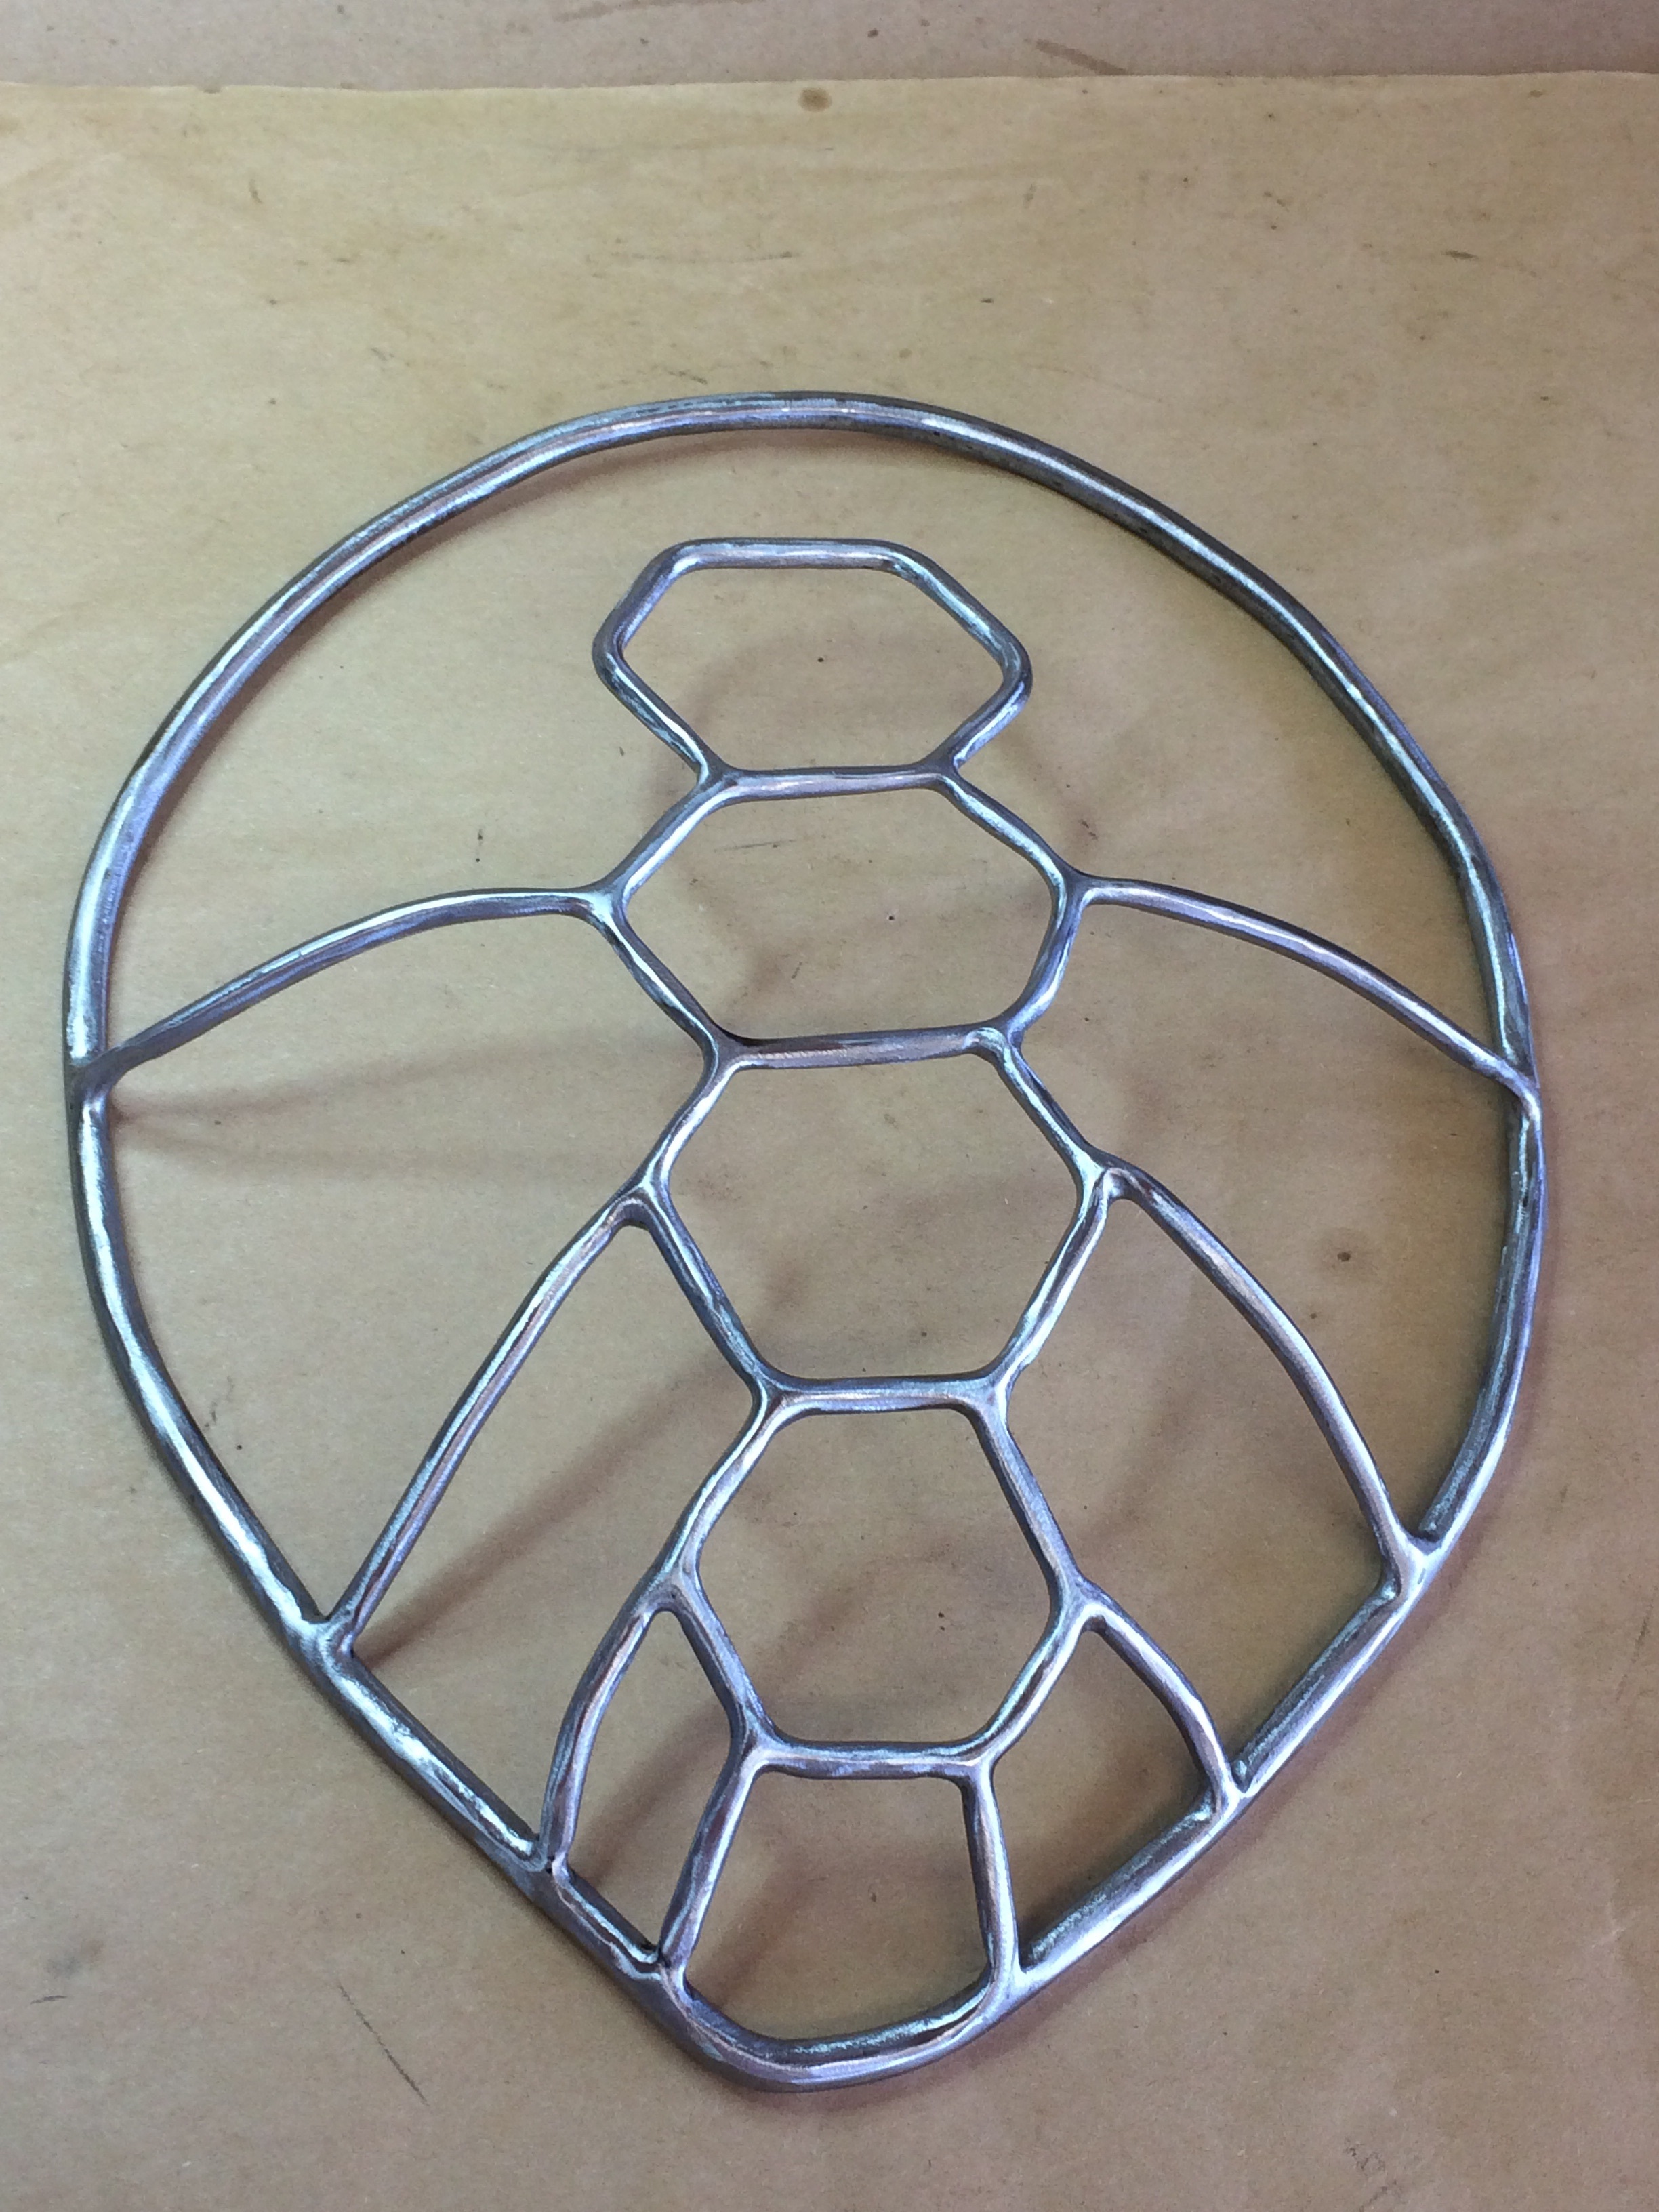
This is another special request that I finished this year. I'm still looking at changes but for now, she's happy with it.

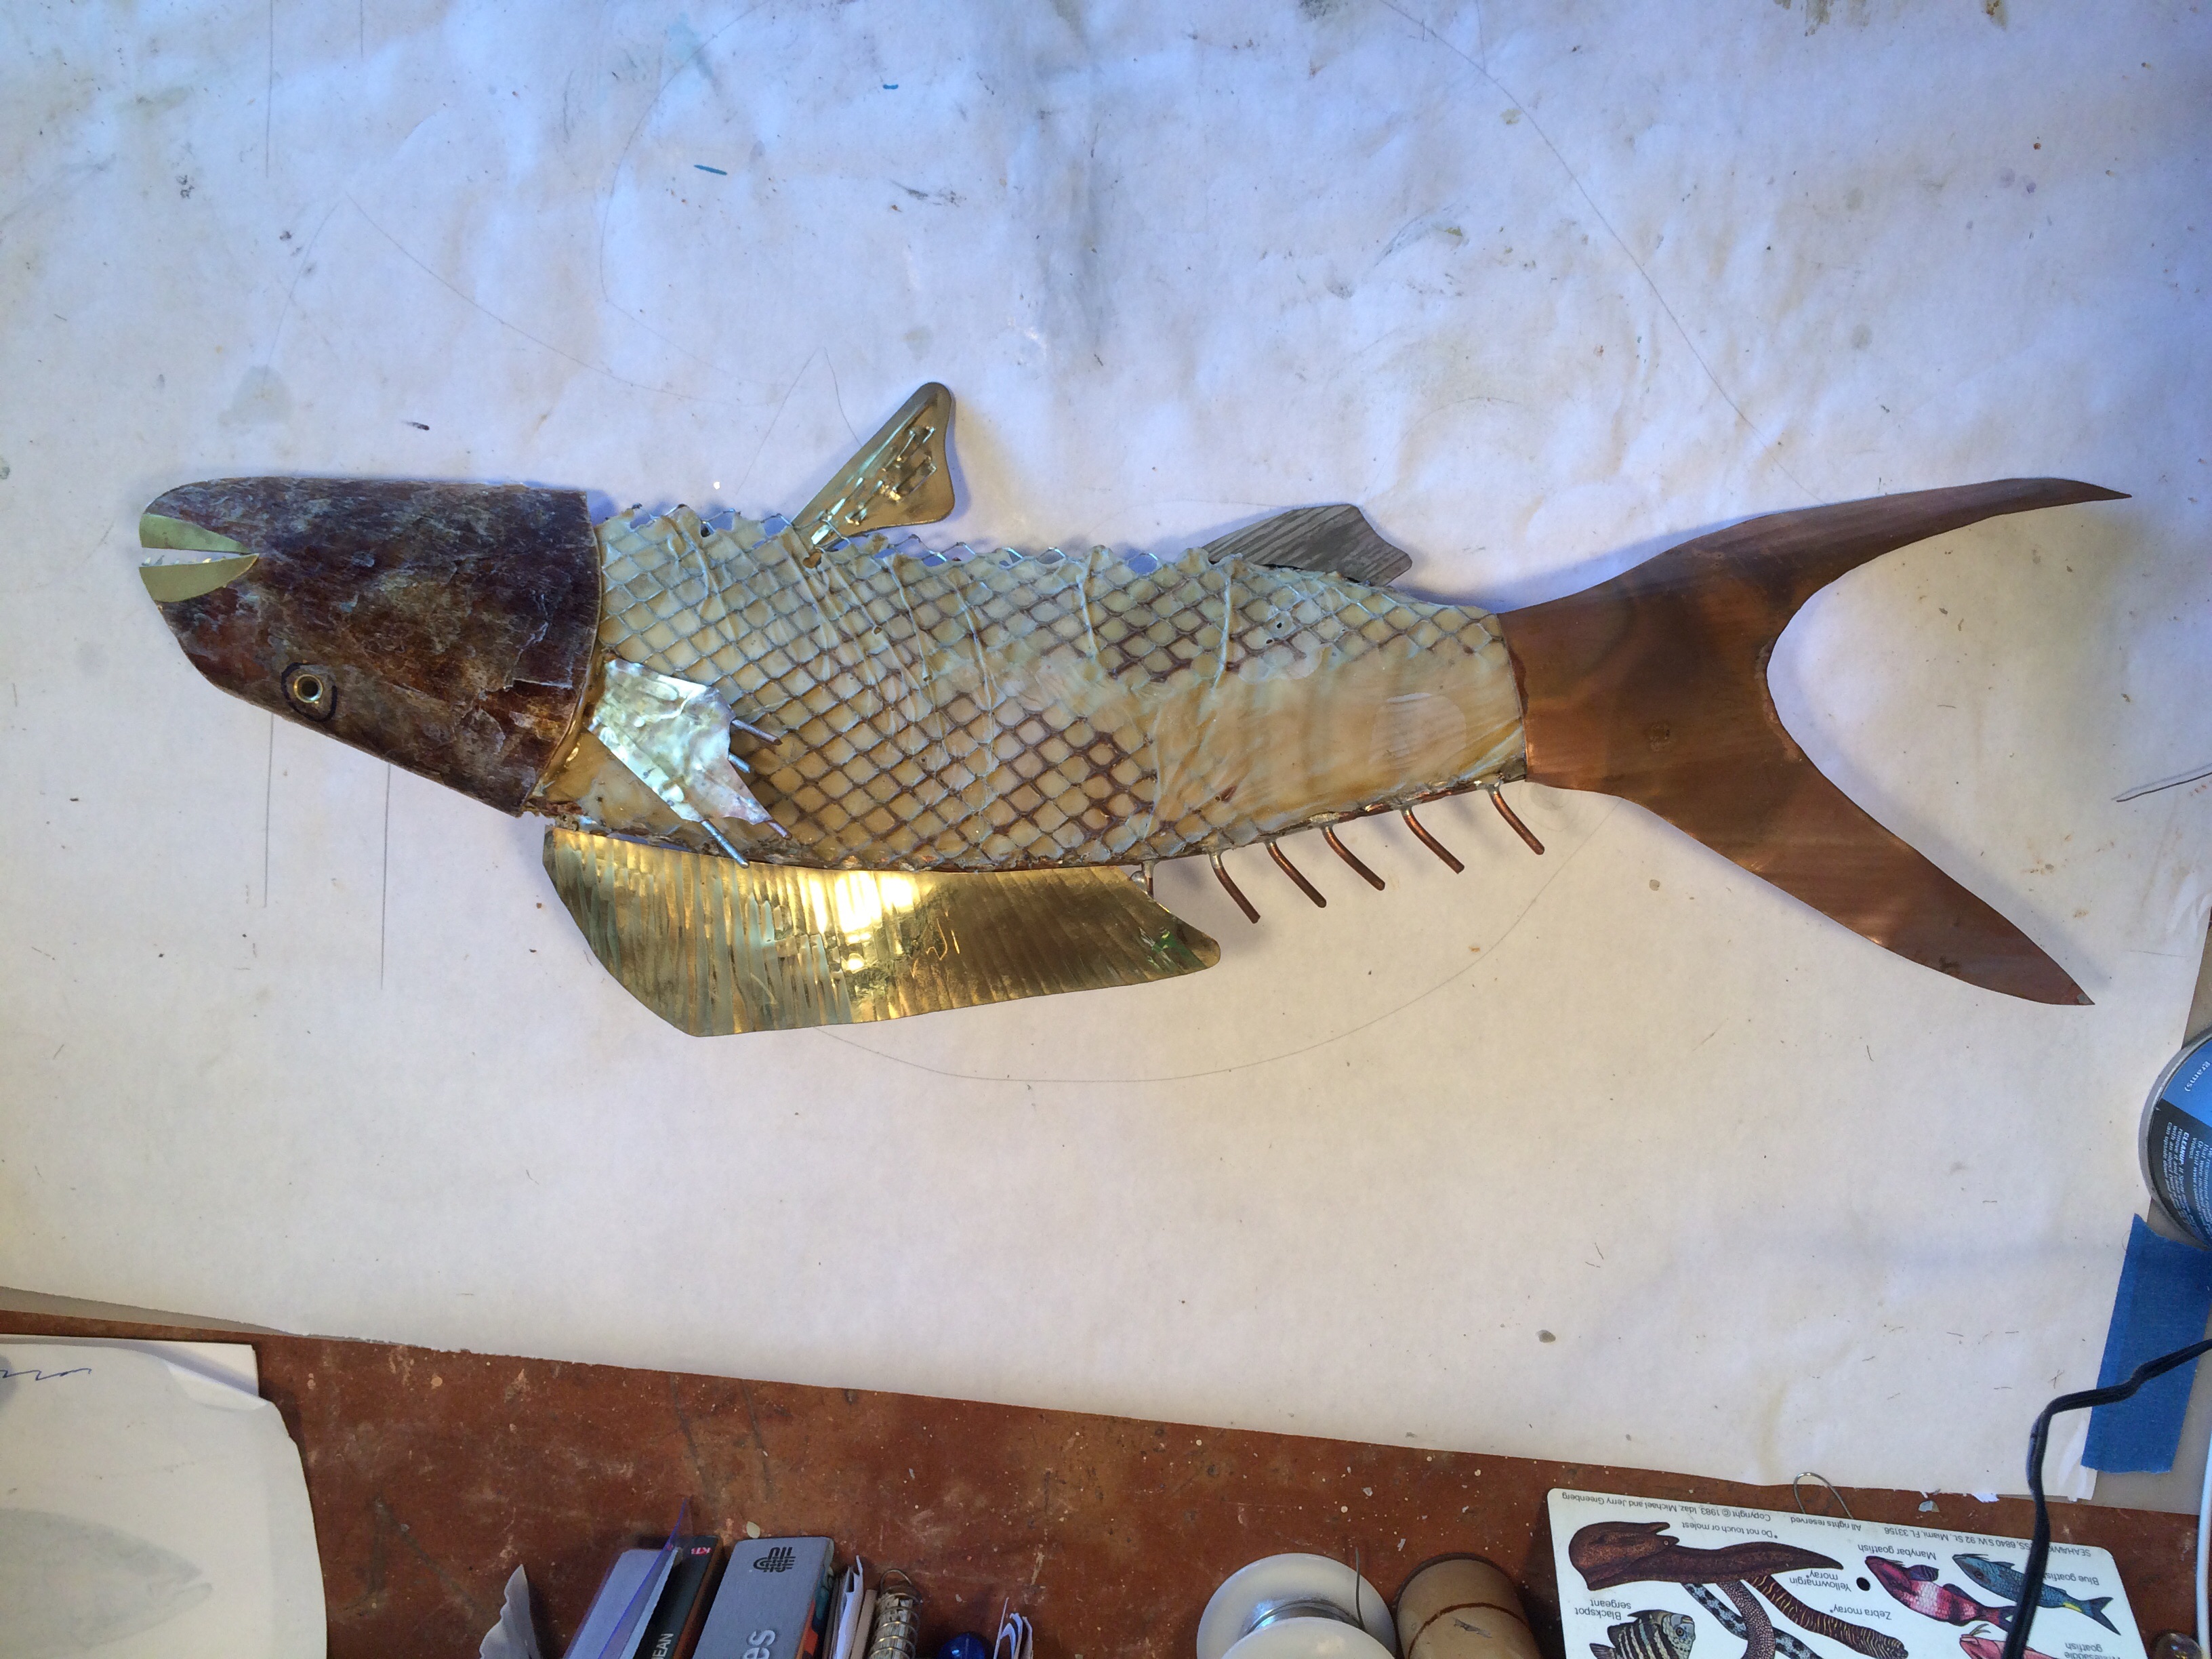
'Ickthyrus'
Copper, brass, marble, LEDs
Approx 30" x 35"

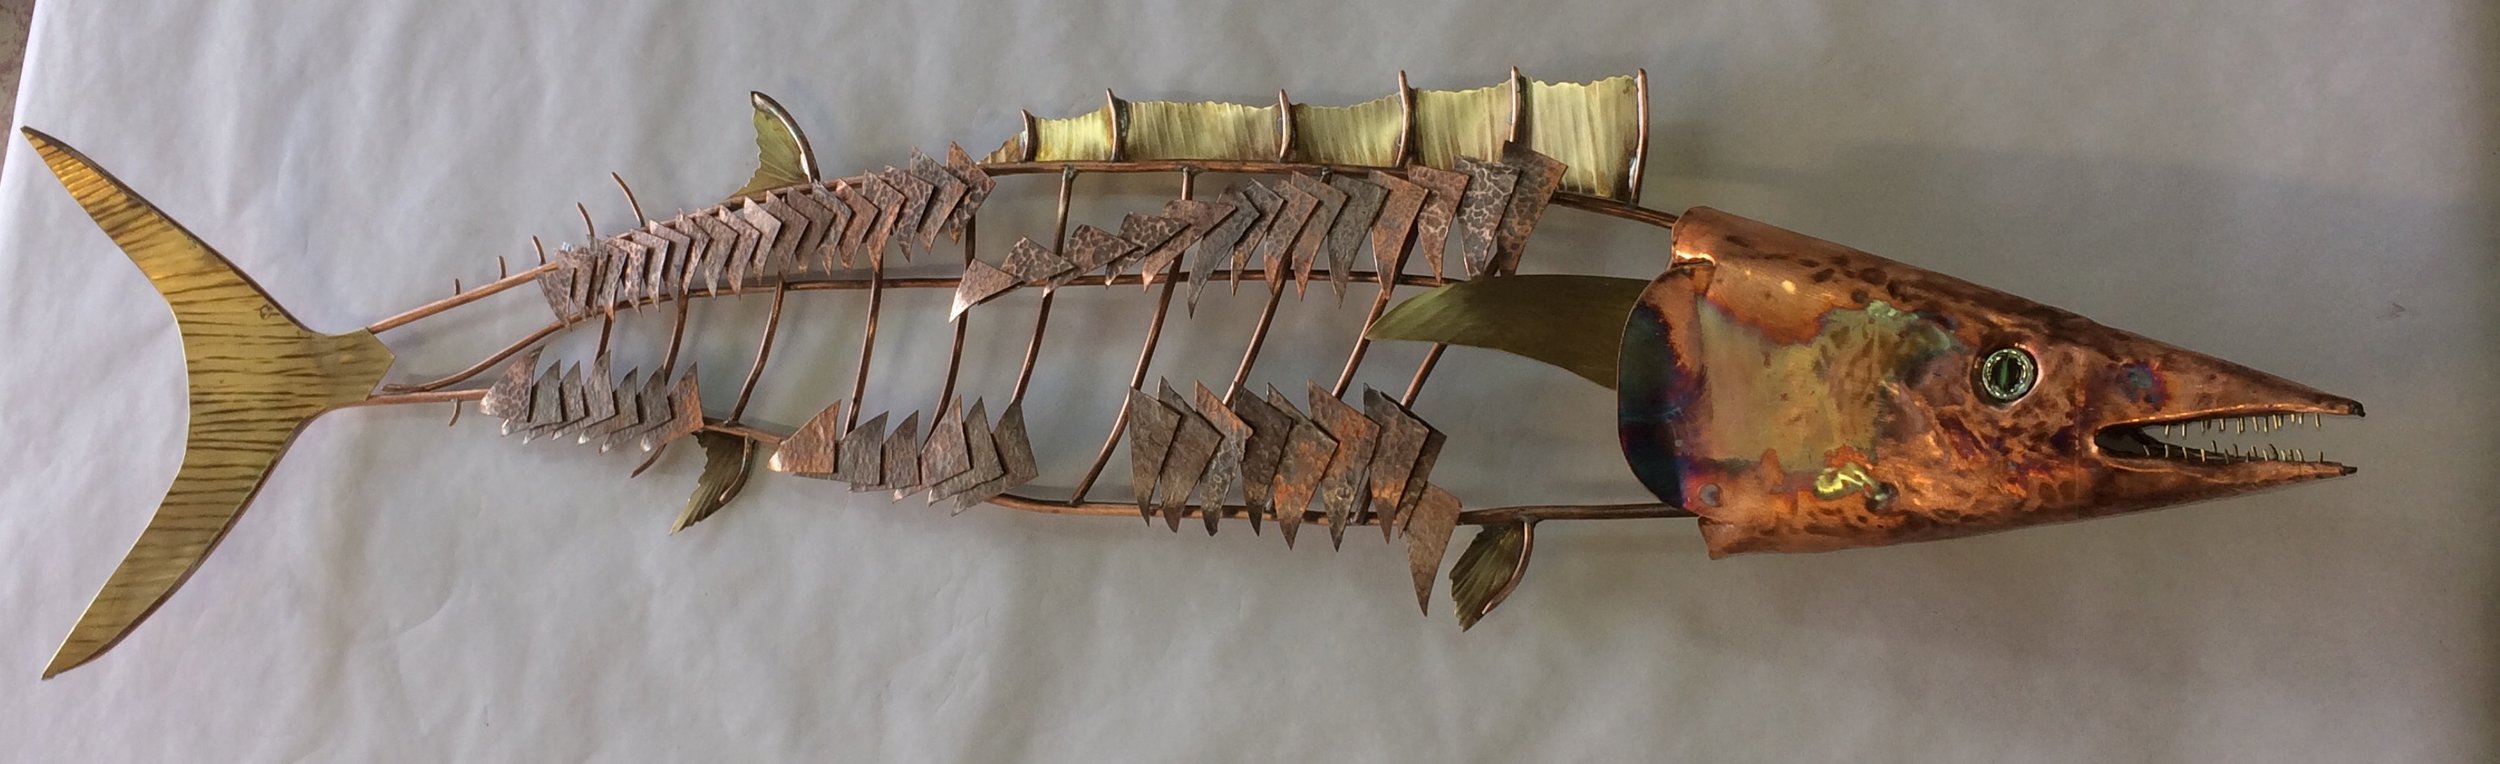
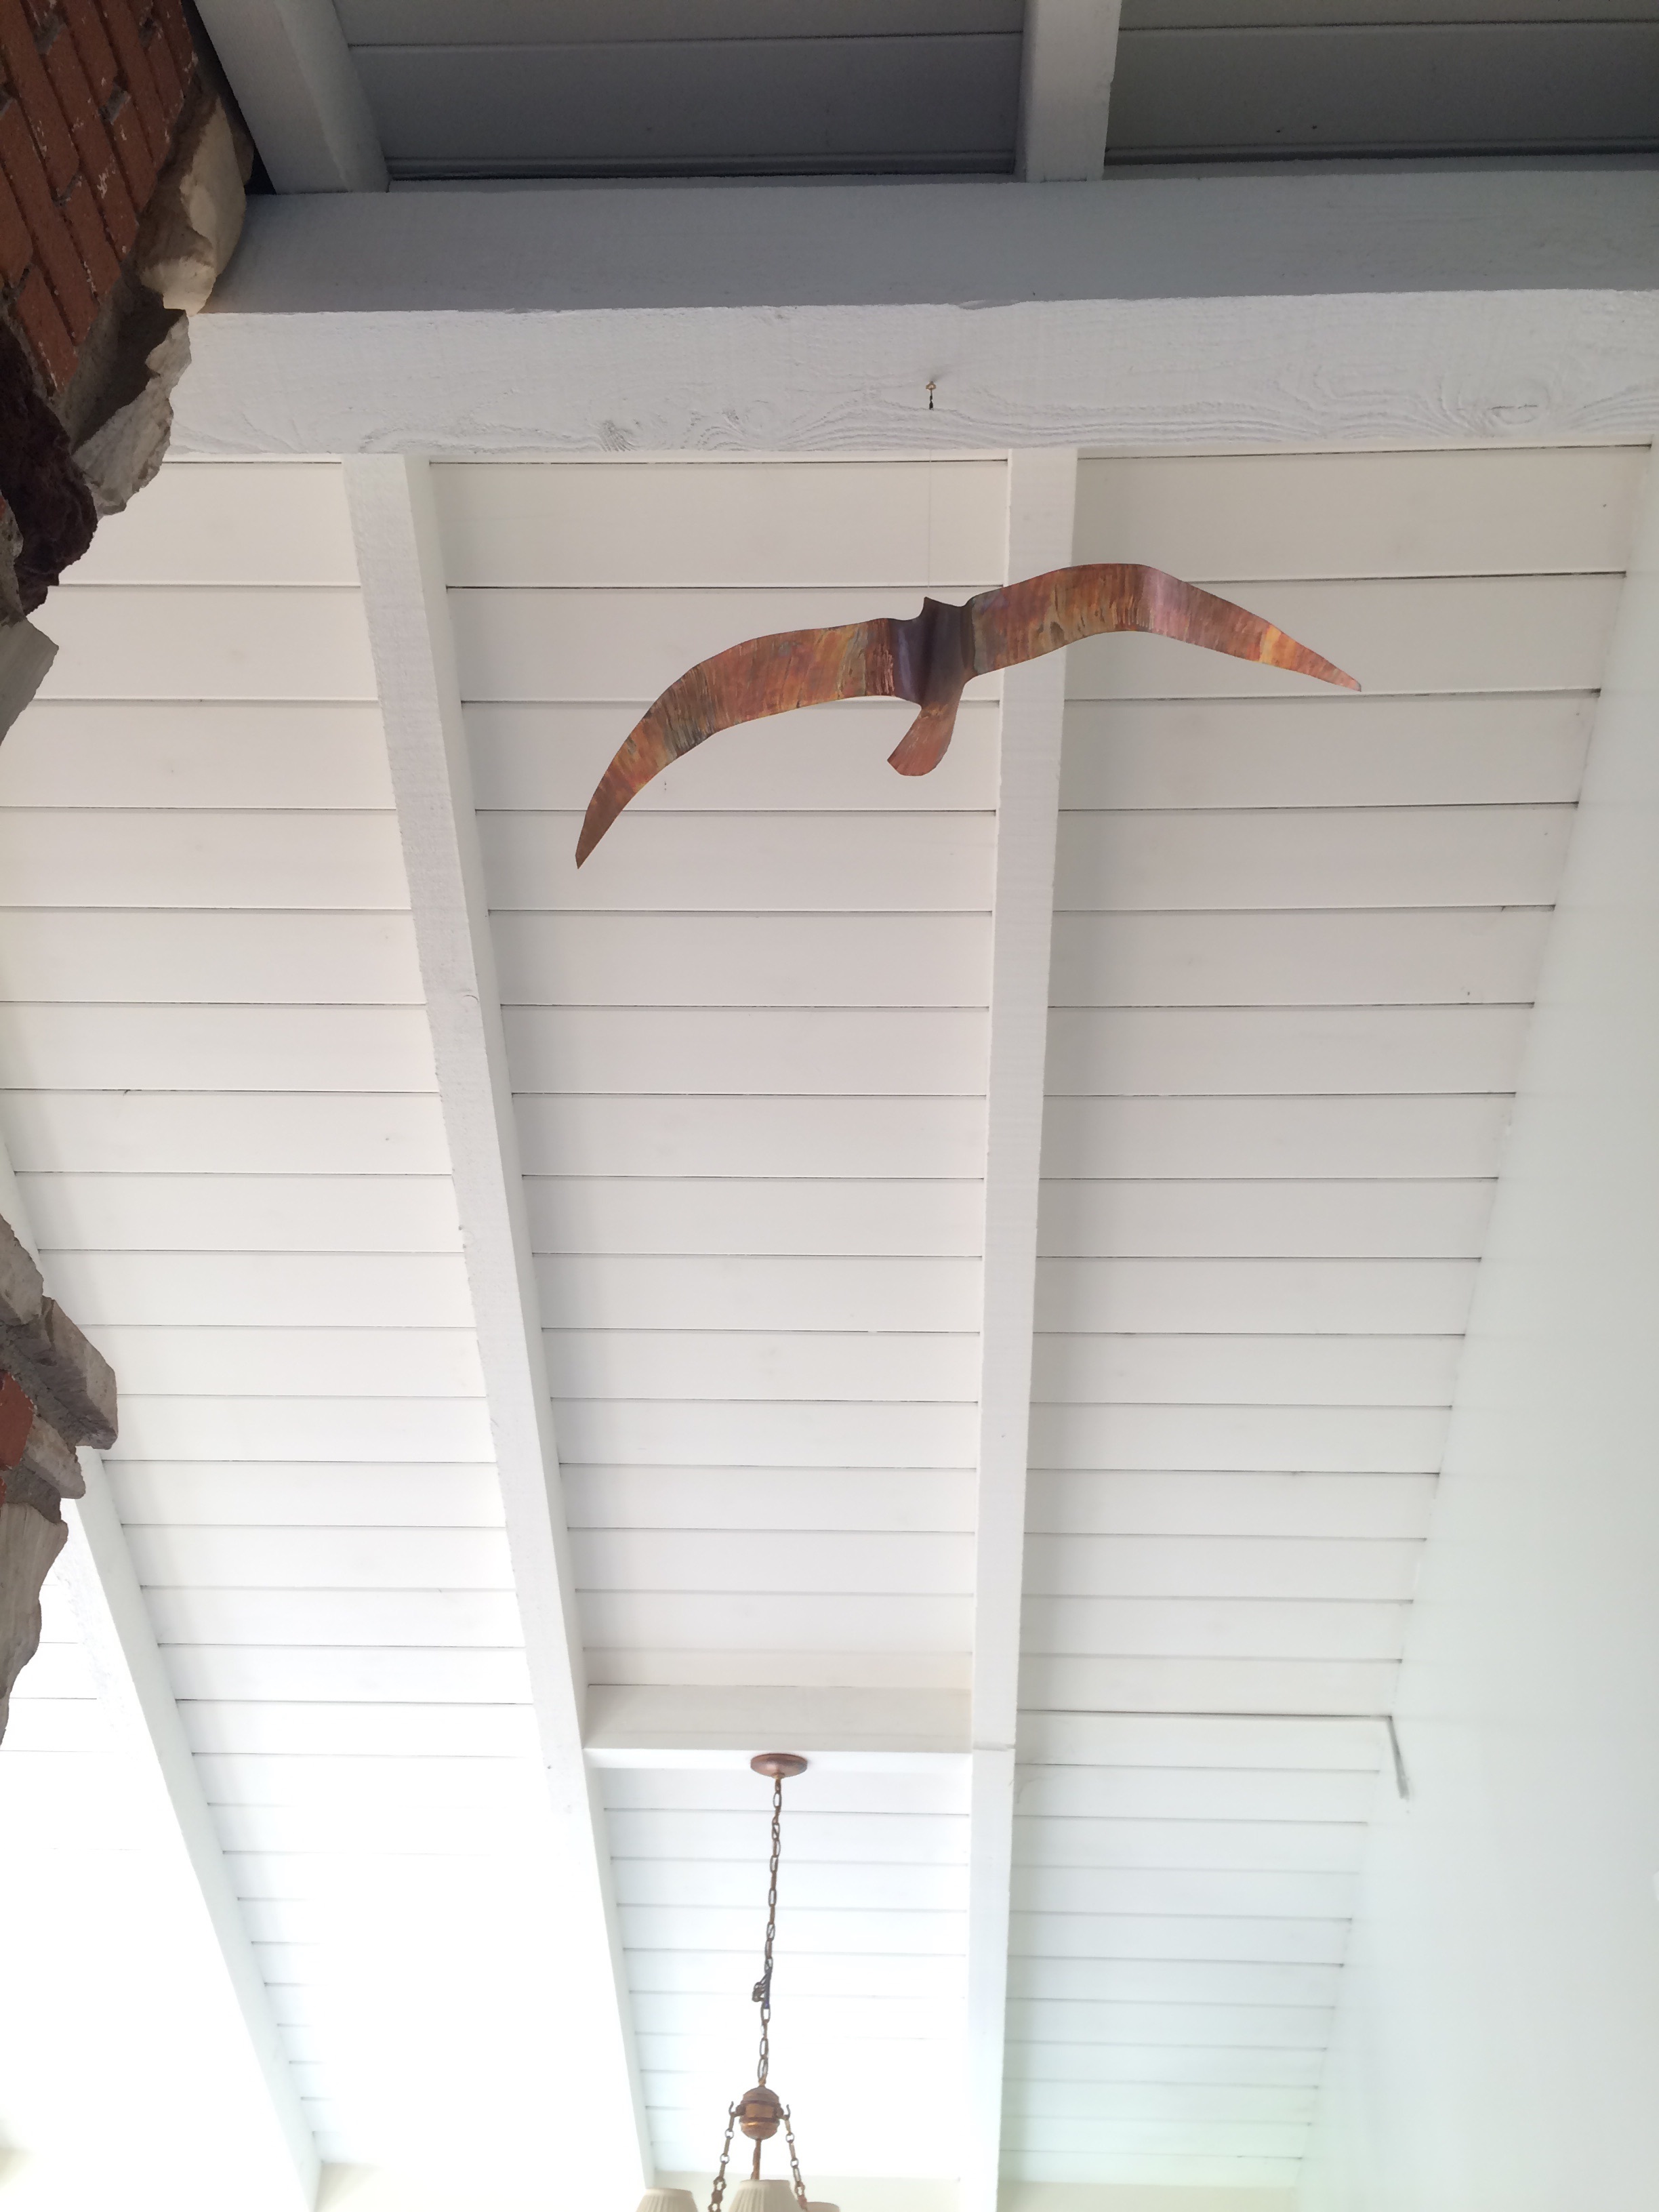
'Ono Cycle #3'
Copper, marble
Approx 46" x 16"
There is a niche to fill... so I made a 'filler'.

'Reflectometry'
Copper, brass
Approx 30" x 8"
and when lit with one of those flameless candles. 😊

Just messin' around...

'Milhaus'
Copper, seashell, findings
Approx 3.5"
Unless you're a marine biologist you probably wouldn't know...

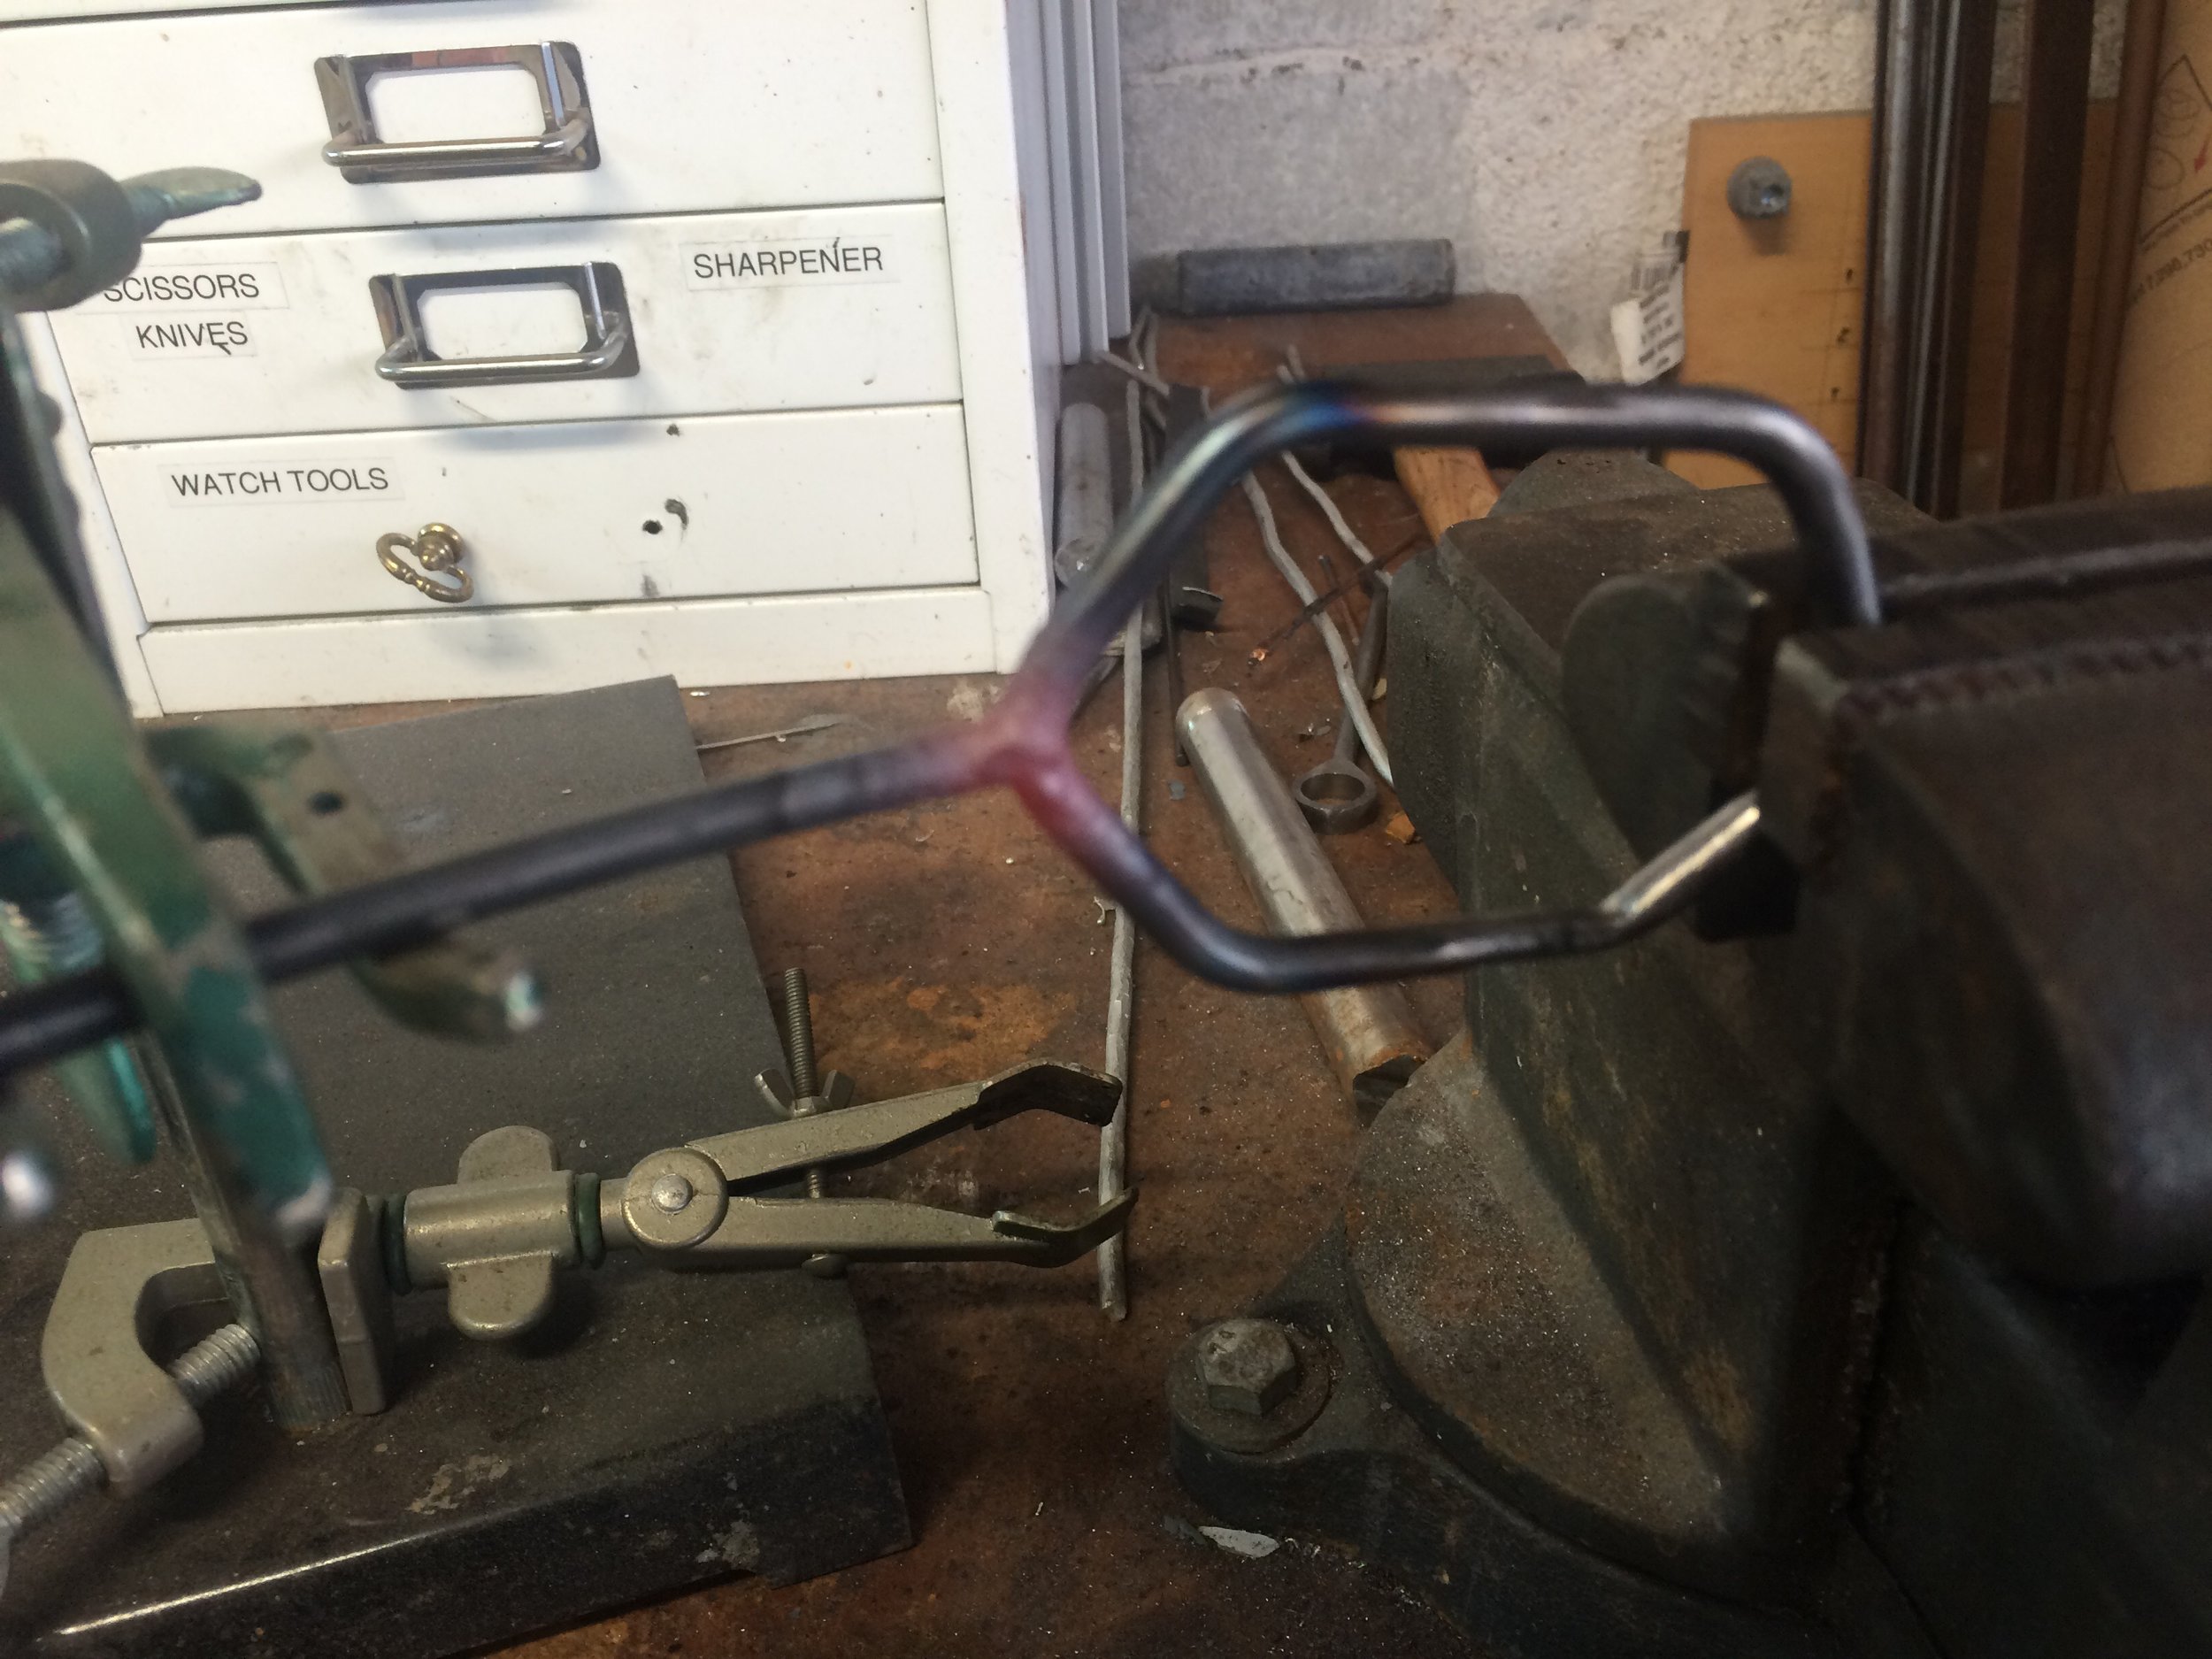
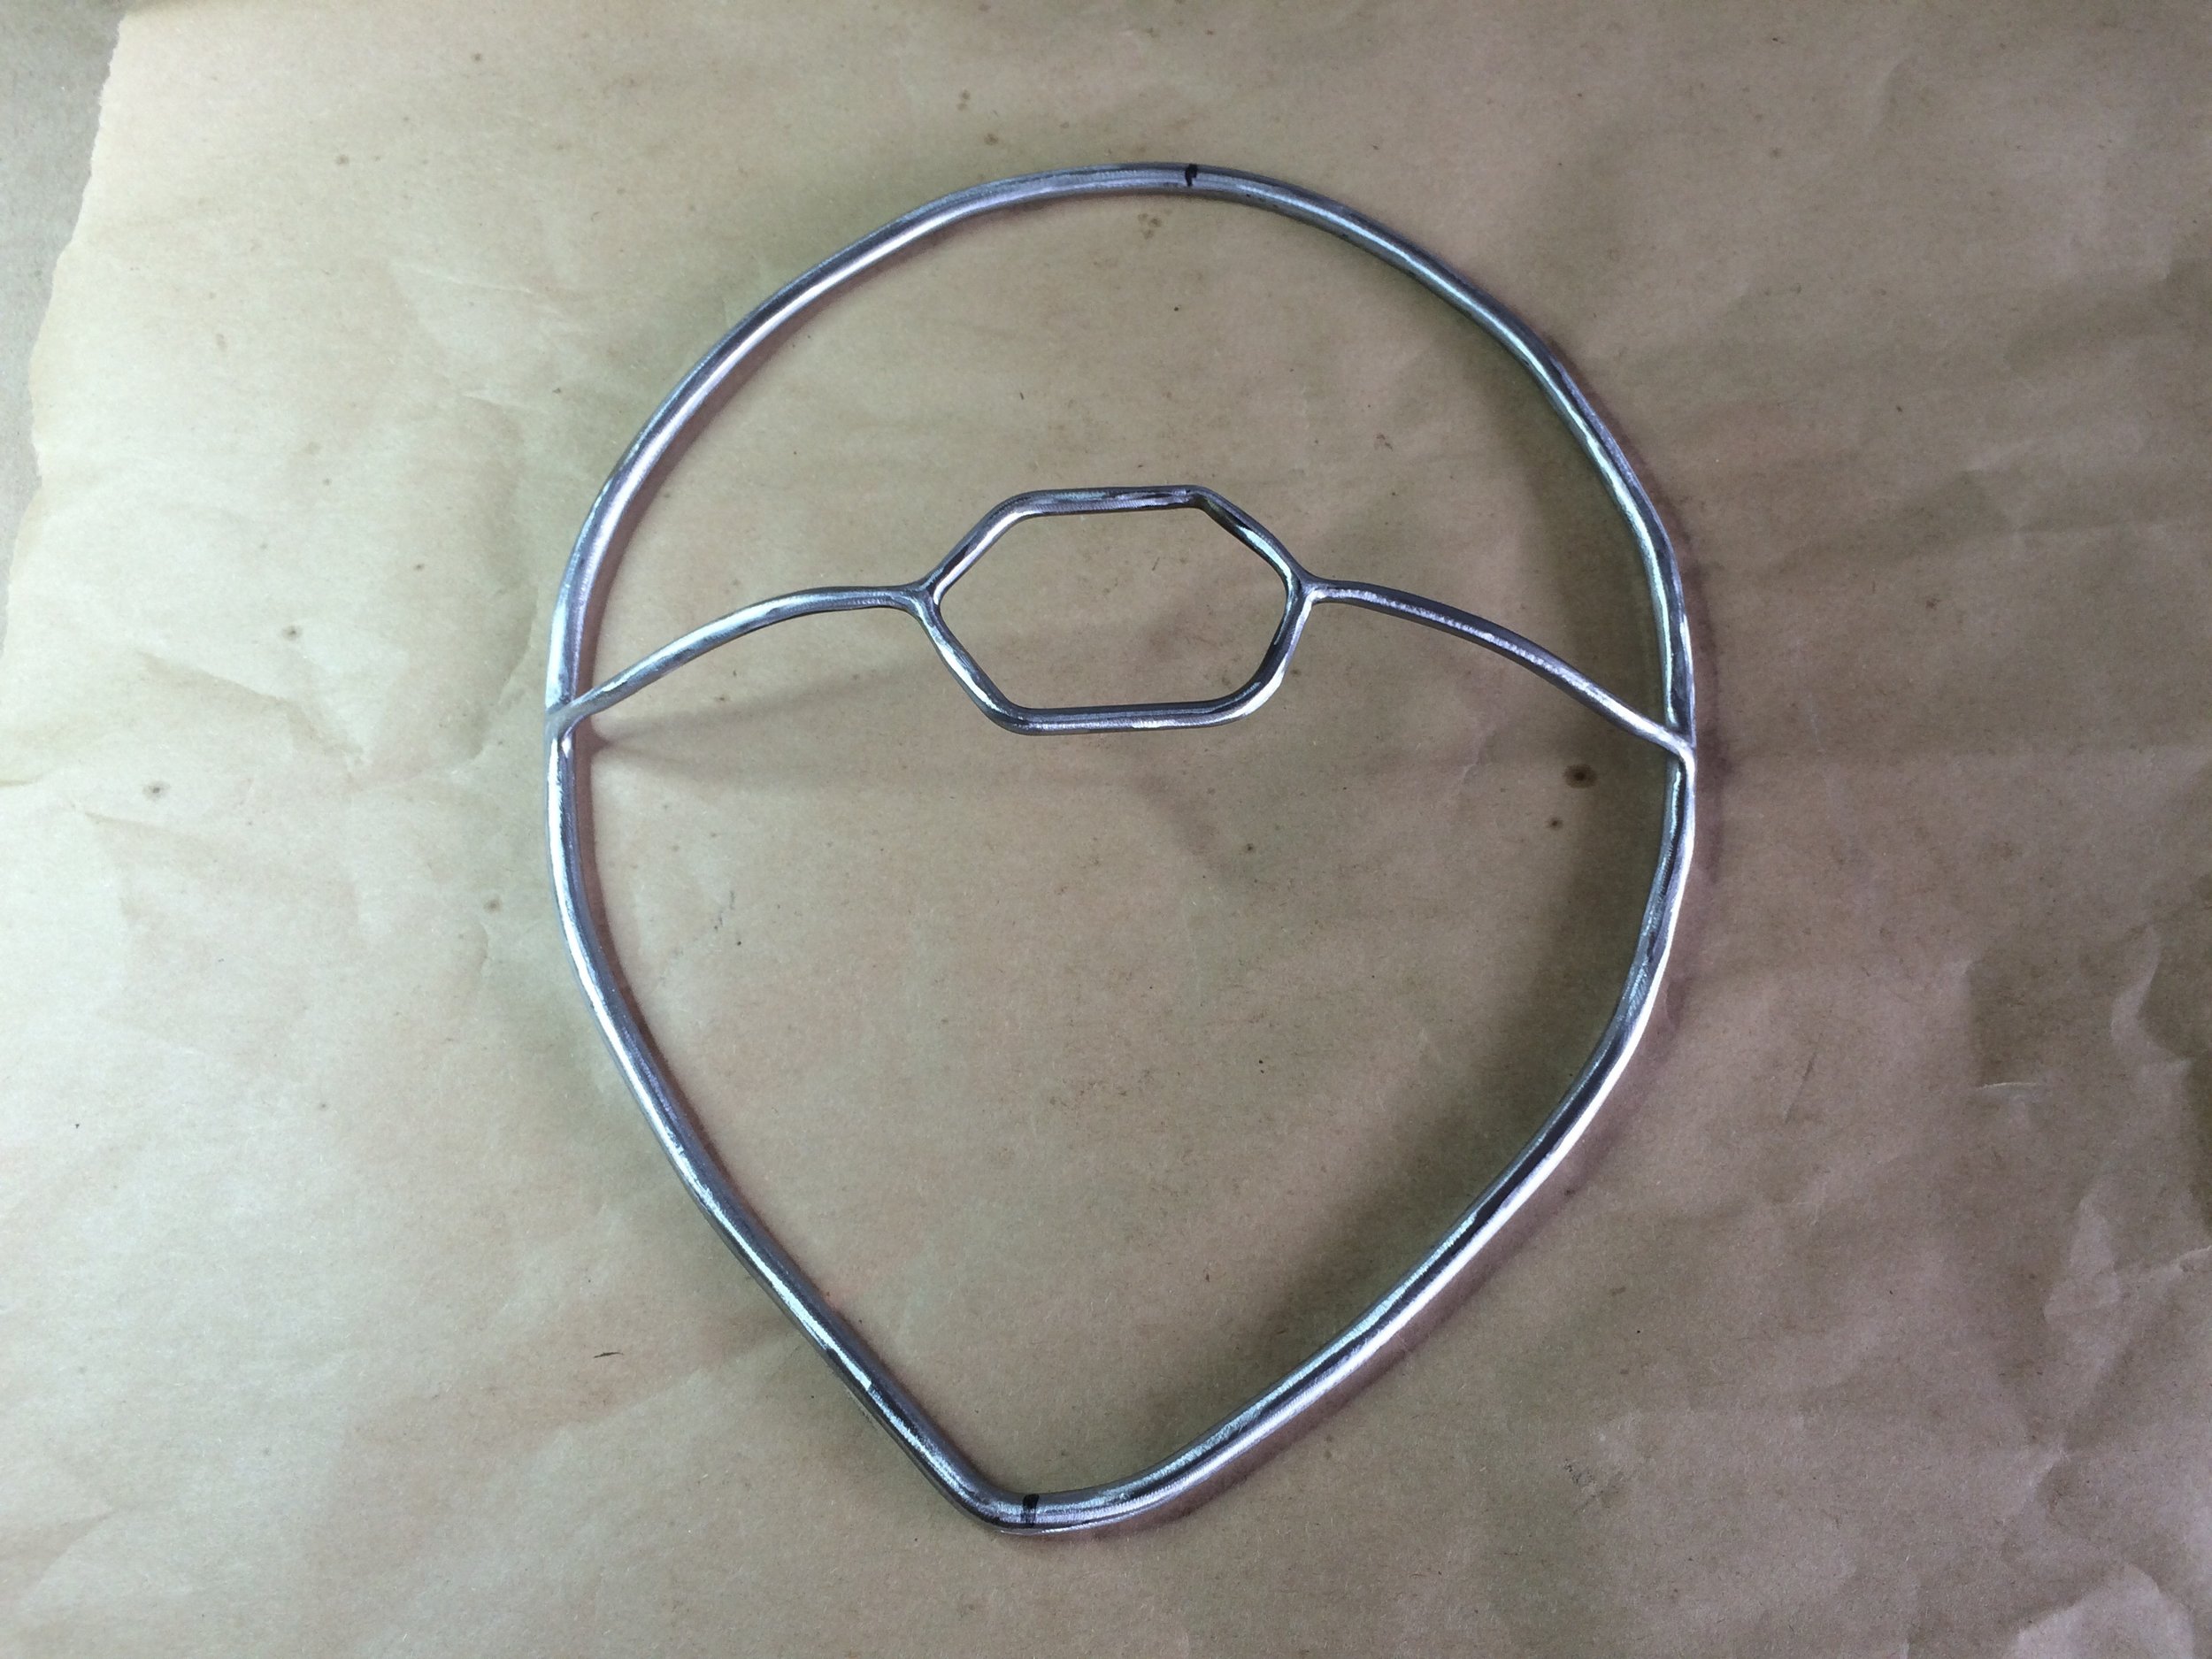
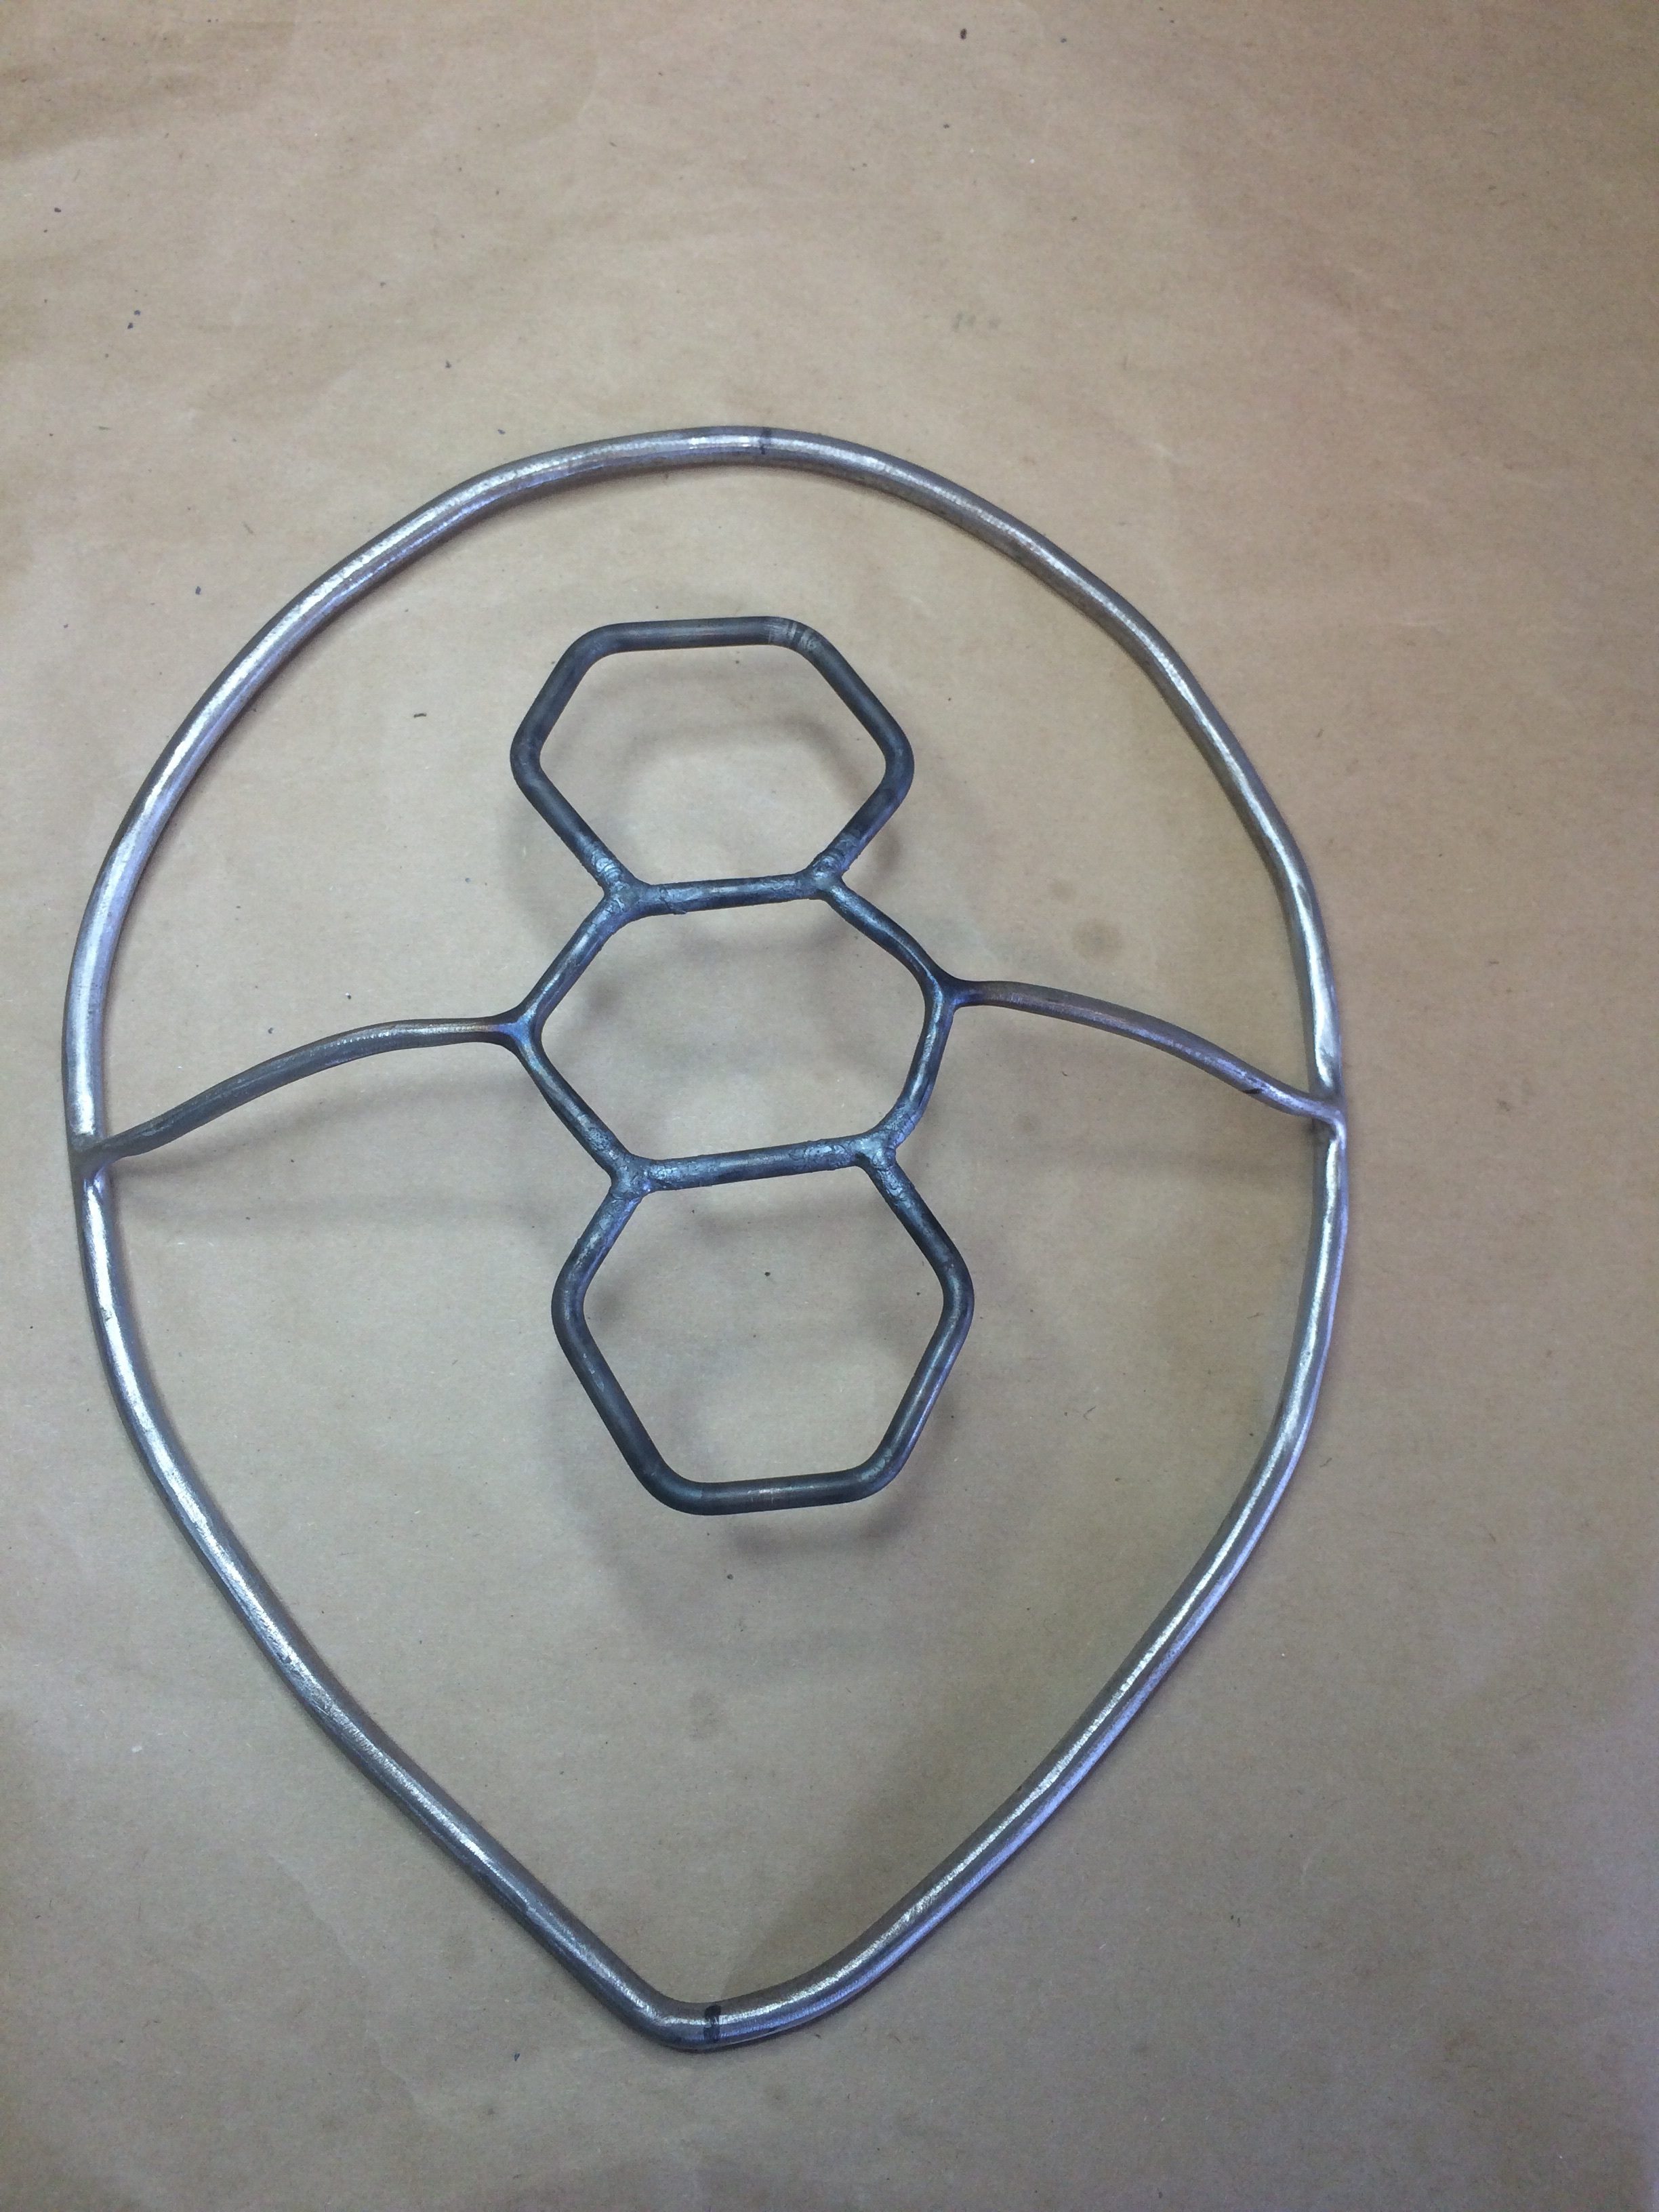
'Venus in Ascension'
Acrylic rod and bar stock, brass wire, copper, papier-mâché, poly tube, wire brushes, pebbles, LEDs
and when she's lit.